Table of Contents
Starting seeds indoors is a great way to save money, grow more varieties, and extend your gardening season. However, it can also be challenging and frustrating if you don’t know what you’re doing. To help you succeed, we’ve compiled this comprehensive guide on how to start seeds indoors, covering everything from choosing the right containers and soil to providing adequate light and water.
Why Start Seeds Indoors?
There are many benefits to starting seeds indoors, such as:
- You can get a head start on the growing season, especially for warm-season crops like tomatoes, peppers, and eggplant that need a long time to mature.
- You can grow more varieties of plants that may not be available as transplants at your local nursery or garden center.
- You can control the quality and health of your seedlings, avoiding pests, diseases, and chemicals that may affect nursery plants.
- You can save money by growing your own plants from seeds instead of buying expensive transplants.
What Seeds Should You Start Indoors?
Not all seeds are suitable for starting indoors. Some plants prefer to be sown directly in the garden, either because they don’t transplant well or because they grow quickly and easily from seed. Here are some general guidelines on what seeds to start indoors and what seeds to sow outdoors:
| Seeds to Start Indoors | Seeds to Sow Outdoors |
|---|---|
| Warm-season crops that need a long growing season, such as tomatoes, peppers, eggplant, melons, cucumbers, squash, and basil. | Cool-season crops that can tolerate frost and cold weather, such as lettuce, spinach, kale, carrots, radishes, beets, peas, and onions. |
| Slow-growing flowers that need an early start to bloom in summer, such as petunias, impatiens, geraniums, marigolds, and zinnias. | Fast-growing flowers that can be sown after the last frost date in spring or fall, such as sunflowers, cosmos, nasturtiums, poppies, and wildflowers. |
| Perennial herbs and flowers that take a long time to germinate and establish roots, such as lavender, rosemary, sage, thyme, and echinacea. | Annual herbs and flowers that germinate quickly and grow easily from seed, such as cilantro, dill, parsley, chamomile, calendula, and borage. |
When to Start Seeds Indoors
The timing of starting seeds indoors depends on the type of plant you’re growing and your local climate. A good rule of thumb is to start seeds indoors about 6 to 8 weeks before the last frost date in your area. This will give your seedlings enough time to grow strong and healthy before being transplanted outdoors.
To find out the last frost date in your area, you can use online tools like The Old Farmer’s Almanac Frost Dates Calculator or The National Gardening Association’s Planting Calendar. You can also check the back of your seed packets for specific instructions on when to start seeds indoors.
How to Start Seeds Indoors
Starting seeds indoors is not difficult if you follow these basic steps:
1. Choose the right containers
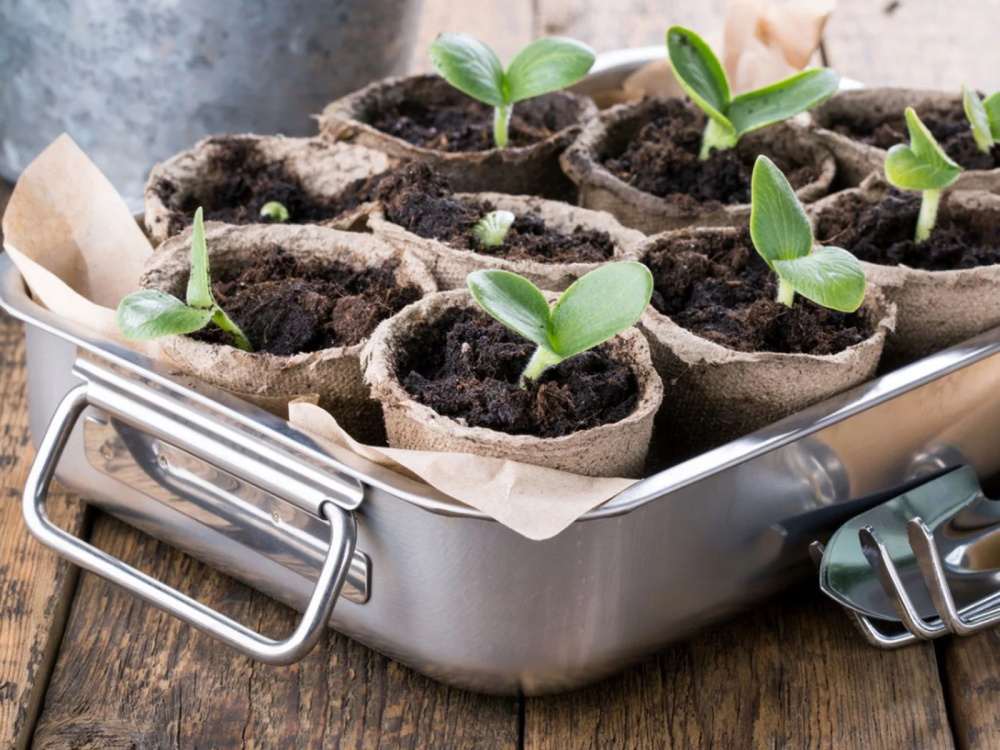
You can use any clean and shallow containers with drainage holes to start seeds indoors. Some common options are:
- Plastic or biodegradable pots
- Seed trays or flats
- Peat pots or pellets
- Egg cartons or yogurt cups
- Paper cups or newspaper pots
You can also buy ready-made seed starting kits that come with containers, soil mixtures, and labels.
Whatever containers you use, make sure they are large enough to hold the seedlings until they are ready to be transplanted outdoors. Usually, 2 to 3 inches in diameter and depth are sufficient.
2. Select the right soil
You can’t use regular garden soil or potting soil to start seeds indoors. These types of soil are too heavy, dense, and prone to fungal diseases for seed germination. Instead, you need a special seed starting mix that is light, fluffy, and sterile.
You can buy commercial seed starting mixes at your local nursery or garden center, or you can make your own by mixing equal parts of peat moss, perlite, and vermiculite.
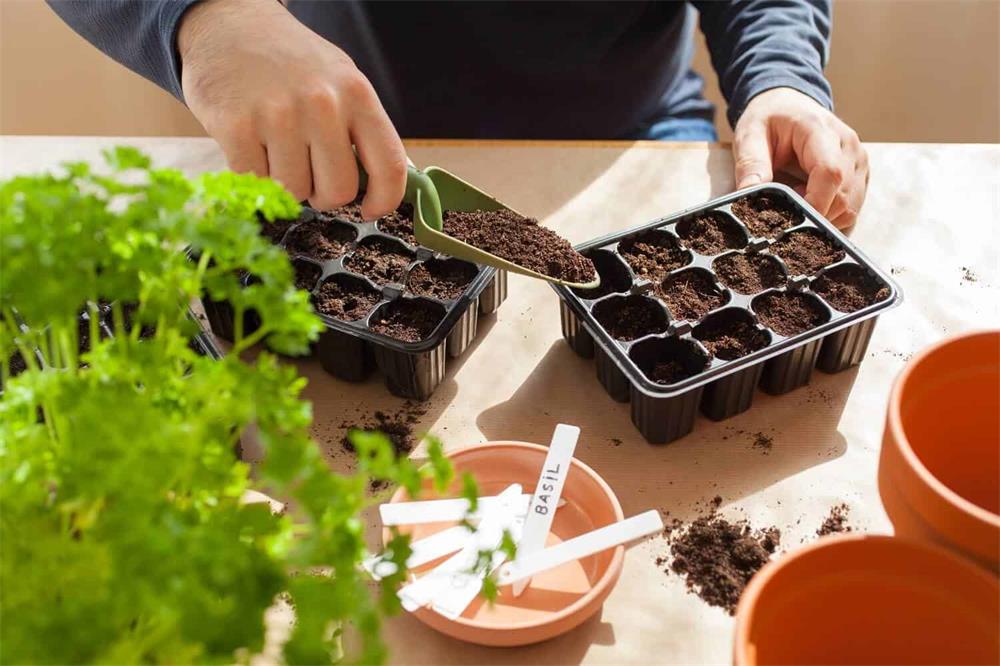
Fill your containers with the soil mix, leaving about a quarter inch of space at the top. Gently firm the soil with your fingers or a spoon. Moisten the soil with water until it feels damp but not soggy.
3. Sow the seeds
Check the back of your seed packets for specific instructions on how deep and how far apart to sow the seeds. Some seeds need to be covered with a thin layer of soil, while others need light to germinate and should be pressed lightly into the soil surface. As a general rule, sow seeds at a depth that is twice their width.
You can sow one seed per container, or several seeds per container and thin them out later. Label each container with the name and date of sowing. You can use popsicle sticks, plastic spoons, or masking tape as labels.
4. Provide adequate light and heat
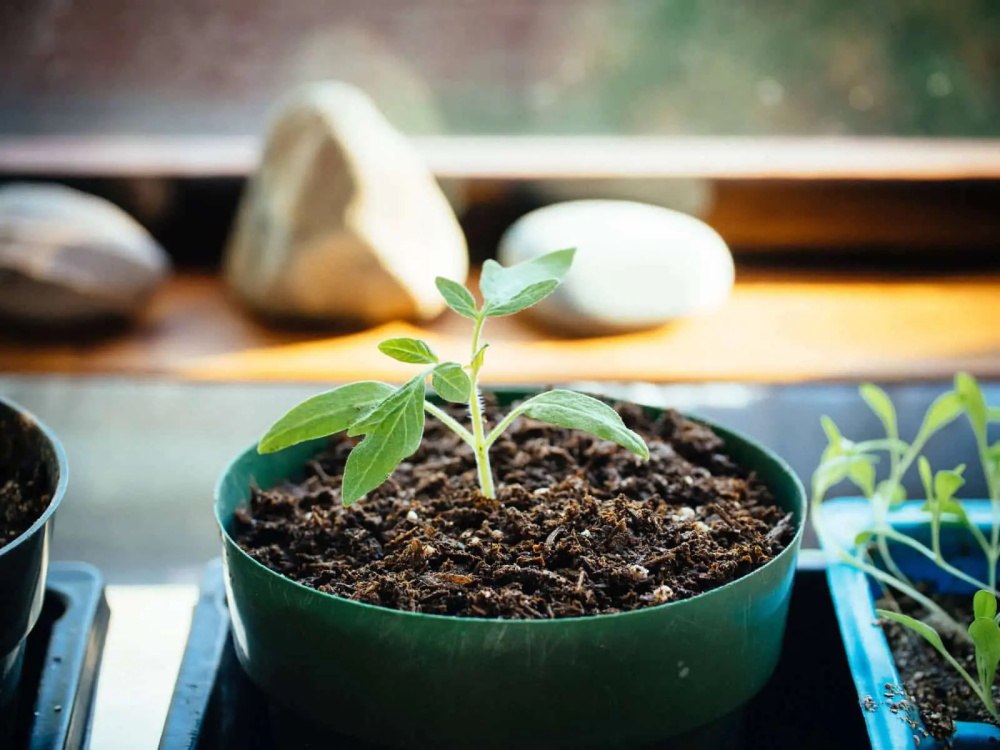
Most seeds need warmth and light to germinate and grow. Place your containers in a warm and bright location, such as a sunny windowsill, a heated greenhouse, or under artificial grow lights. The ideal temperature for seed germination varies depending on the type of plant, but generally ranges from 65 to 75 degrees Fahrenheit.
If you use a windowsill, make sure to rotate your containers every day to prevent the seedlings from leaning toward the light. If you use grow lights, keep them about 2 to 4 inches above the containers and adjust them as the seedlings grow. You can also use a heat mat under the containers to provide extra warmth for faster germination.
5. Keep the soil moist but not wet
Watering is one of the most important and tricky aspects of starting seeds indoors. You need to keep the soil moist but not wet, as too much or too little water can cause problems for your seeds and seedlings.
To water your seeds, use a gentle spray bottle, a watering can with a fine nozzle, or a plastic bag with small holes. Water from below by placing your containers in a tray filled with water and letting them soak for a few minutes. Drain any excess water from the tray after watering.
You can also cover your containers with clear plastic wrap or domes to create a mini greenhouse effect and reduce evaporation. However, make sure to remove the cover once the seeds germinate to prevent fungal diseases and allow air circulation.
Check your containers daily and water them whenever the soil feels dry to the touch. Don’t let the soil dry out completely or become waterlogged.
6. Thin out and transplant the seedlings
Once your seeds germinate and produce their first true leaves (the second set of leaves that look like the adult plant), you may need to thin out and transplant some of them if they are overcrowded or outgrowing their containers.
To thin out your seedlings, use scissors or your fingers to snip off or pinch off the weakest ones at soil level, leaving only one healthy seedling per container. You can also transplant some of the thinned-out seedlings into larger pots if you have enough space and soil.
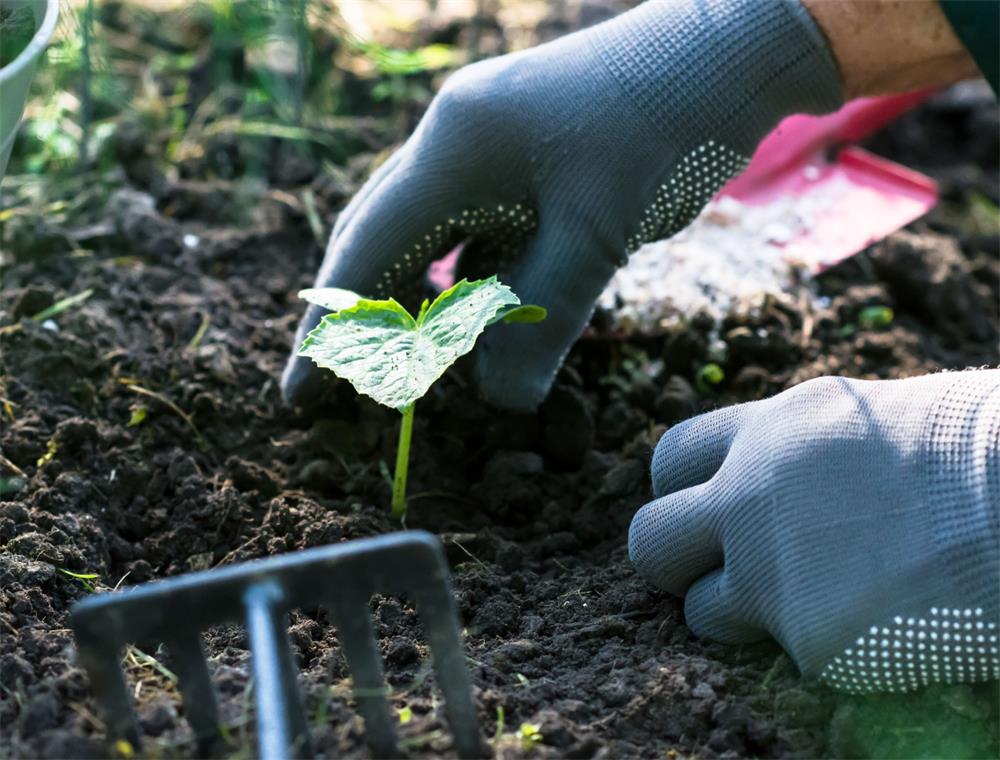
To transplant your seedlings, gently loosen the soil around them with a fork or a spoon and lift them out by holding their leaves, not their stems. Make a hole in the new pot filled with fresh soil mix and place the seedling in it. Firm the soil around it and water it well.
7. Harden off and move outdoors
Before you move your seedlings outdoors, you need to harden them off gradually to acclimate them to the outdoor conditions. This will prevent them from suffering from shock or damage due to sunburn, wind, cold, or pests.
To harden off your seedlings, start by moving them to a sheltered spot outside for a few hours a day when the weather is mild and calm. Avoid direct sun, strong wind, rain, or frost. Gradually increase the time and exposure over a week or two until they are ready to be planted in their final location.
Follow these steps on how to start seeds indoors and you’ll be rewarded with healthy and vigorous plants that will thrive in your garden. Happy growing!


