Table of Contents
One of the most rewarding aspects of gardening is creating new plants from existing ones. There are different methods of propagation, but one of the simplest and most common is by taking stem cuttings and rooting them in a suitable medium. This way, you can produce new plants that are identical to the parent plants. This is especially useful for hybrid plants that may not produce true seeds, or for woody plants that are difficult to grow from seeds.
In this article, we will show you how to propagate plants using stem cuttings, what materials you need, and what steps to follow.
What You Need
- A healthy plant to take cuttings from
- A sharp and clean knife or pruning shears
- A potting medium such as perlite, vermiculite, sand, or peat moss
- A small pot or container with drainage holes
- A plastic bag or a clear dome
- Optional: a rooting hormone such as powder, liquid, or gel
When to Take Stem Cuttings
The best time to take stem cuttings depends on the type of plant you want to propagate. Generally, you want to avoid taking cuttings when the plant is flowering or fruiting, as this will reduce its energy for root formation. You also want to choose new growth that is not too soft or too woody.
For most herbaceous plants and houseplants, you can take stem cuttings at any time of the year, but spring and summer are usually the best seasons. For woody plants such as shrubs and trees, you can take stem cuttings in late spring or early summer, when the new growth is still green and flexible.
How to Take Stem Cuttings
To take stem cuttings, follow these steps:
- Select a healthy and disease-free plant to take cuttings from. Make sure it is well-watered and not stressed by nutrient deficiency or pests.
- Choose a stem that has at least two or three pairs of leaves. Cut off a 4- to 6-inch section from the tip of the stem using a sharp and clean knife or pruning shears. Make a clean cut just below a leaf node (where a leaf attaches to the stem).
- Remove the lower leaves from the cutting, leaving only one or two pairs of leaves at the top. You can also trim off any flowers or buds if present.
- Optional: Dip the cut end of the cutting in a rooting hormone such as powder, liquid, or gel. This will help stimulate root growth and prevent fungal infection. Follow the instructions on the product label for proper application and dosage.
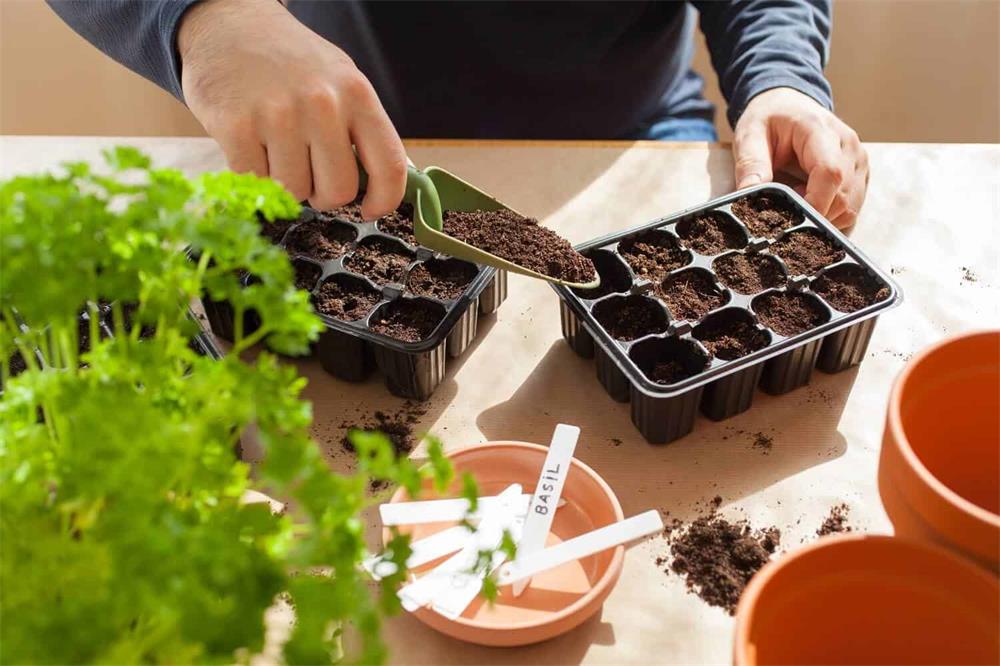
- Fill a small pot or container with a potting medium such as perlite, vermiculite, sand, or peat moss. The medium should be moist but not soggy. Make a hole in the center of the medium with your finger or a pencil.
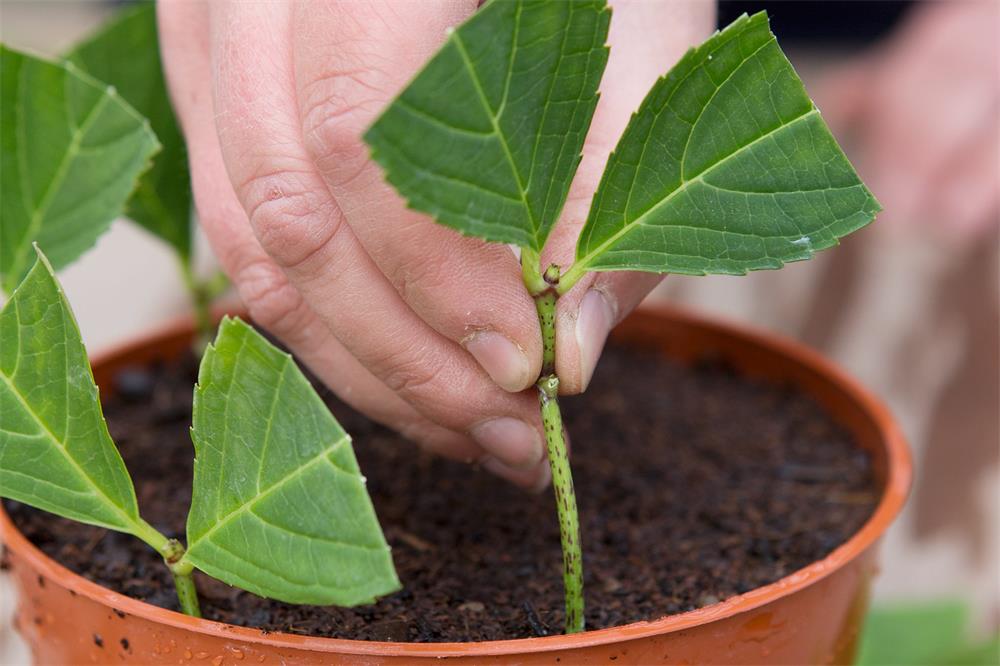
- Insert the cut end of the cutting into the hole and gently press the medium around it to secure it. The cutting should be buried about 1 to 2 inches deep, depending on its size.
- Water the cutting lightly and place it in a warm and bright location, but out of direct sunlight. Cover the pot or container with a plastic bag or a clear dome to create a humid environment for the cutting.
- Check on the cutting every day and mist it with water if needed to keep it moist but not wet. Also, open the plastic bag or dome daily to allow some air circulation and prevent mold growth.
- After two to four weeks, gently tug on the cutting to see if it has rooted. If you feel some resistance, it means roots have formed. You can also carefully remove some of the media around the cutting to check for roots.
- Once the cutting has rooted, you can transplant it into a larger pot with regular potting soil or directly into your garden if the weather is suitable.
Tips for Success
- Choose healthy and vigorous plants to take cuttings from.
- Use sharp and clean tools to avoid damaging plant tissue and introducing diseases.
- Use a suitable potting medium that is well-draining and sterile.
- Use a rooting hormone to speed up root formation and prevent rotting.
- Keep the cutting moist but not wet and provide adequate warmth and light.
- Avoid overwatering or fertilizing the cutting until it has rooted.
- Be patient and gentle with your cutting until it establishes itself.
Conclusion
Propagating plants using stem cuttings is an easy and fun way to multiply your favorite plants and create new varieties. With some basic materials and a little patience, you can enjoy the satisfaction of growing new plants from cuttings.


