Table of Contents
Planting seeds is a rewarding and economical way to grow your own flowers, vegetables, herbs, and other plants. Whether you start seeds indoors or outdoors, you need to follow some basic steps to ensure successful germination and growth. Here are some tips and tricks to help you plant seeds like a pro.
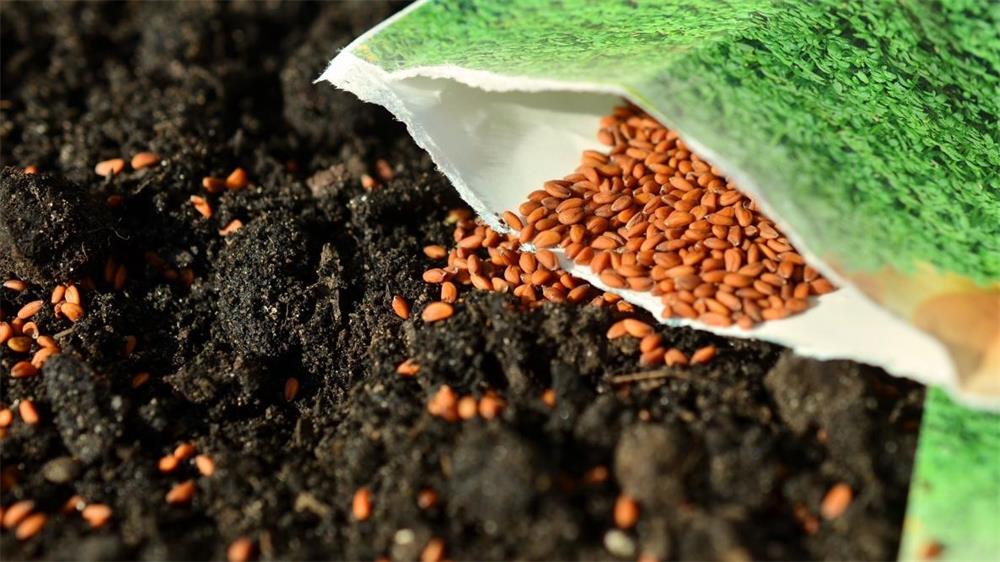
Choose the Right Seeds
The first step is to decide what kind of plants you want to grow from seeds. Some plants are easier to start from seeds than others, and some have specific requirements for germination. You can find a wide variety of seeds in local garden stores or online catalogs, but make sure they are fresh and suitable for your climate and growing season.
Some plants, such as beans, squash, lettuce, and sunflowers, are best sown directly in the ground, as they do not transplant well or need a long growing season. These seeds can be planted after the last spring frost, when the soil is warm enough. Other plants, such as tomatoes, peppers, basil, and marigolds, are best started indoors, as they need a longer and warmer growing season than most climates can provide. These seeds can be planted indoors 6 to 8 weeks before the last spring frost, and then moved outdoors when the weather is favorable.
You can also choose between different types of seeds, such as heirloom, hybrid, or organic. Heirloom seeds are varieties that have been passed down for generations and have not been genetically modified or crossbred. They often have unique characteristics and flavors, but may not be as productive or disease-resistant as hybrid seeds. Hybrid seeds are the result of crossbreeding two different varieties of the same plant to create a new one with desirable traits, such as higher yield, uniformity, or disease resistance. They are usually reliable and consistent, but may not produce true-to-type offspring if saved for future planting. Organic seeds are produced without the use of synthetic pesticides or fertilizers, and are certified by a third-party organization. They are usually more expensive than conventional seeds, but may appeal to gardeners who want to avoid chemicals or support organic farming practices.
Prepare the Containers and Soil
The next step is to prepare the containers and soil for planting the seeds. You can use any type of container that has drainage holes and is at least 2 to 3 inches deep, such as seed trays, pots, cups, or milk cartons. You can also use biodegradable pots made of peat moss, paper, or coconut fiber, which can be planted directly in the ground without disturbing the roots. Make sure to clean and sterilize any reused containers with hot water and bleach to prevent diseases.
You also need to choose a suitable potting mix for starting seeds. Do not use garden soil or regular potting soil, as they may contain weed seeds, pathogens, or pests that can harm your seedlings. Instead, use a sterile seed-starting mix that is light, fluffy, and well-drained. You can buy it from a garden store or make your own by mixing equal parts of peat moss, perlite or vermiculite, and compost.
Before filling your containers with potting mix, moisten them with lukewarm water until it is damp but not soggy. Then fill your containers with potting mix and gently press it down to remove air pockets. Leave some space at the top of each container to cover the seeds with more potting mix later.
Sow the Seeds
The third step is to sow the seeds in the prepared containers. Check the seed packet for instructions on how deep and how far apart to plant the seeds. Some seeds need light to germinate and should be sprinkled on the surface of the potting mix. Others need darkness and should be buried under a thin layer of potting mix. As a general rule of thumb, plant seeds at a depth of three times their diameter.
To sow the seeds evenly and avoid overcrowding, you can use a seed sower tool or make your own by cutting off the tip of a plastic bottle or straw. You can also use tweezers or your fingers to pick up individual seeds and place them in the containers. If you plant more than one seed per container, you will need to thin out the weaker seedlings later.
After sowing the seeds, cover them with a more potting mix if needed and gently press down to ensure good contact with the soil. Label each container with the name and date of planting of the seeds. Then water them lightly with a fine mist sprayer or a watering can with a gentle nozzle.
Provide Optimal Conditions
The fourth step is to provide optimal conditions for the germination and growth of the seeds. Most seeds need warmth and moisture to sprout, but some may have specific temperature or light requirements. You can find this information on the seed packet or online sources. Here are some tips to create a favorable environment for your seeds:
- Place the containers in a warm location, such as on top of a refrigerator, a heating mat, or a radiator. The ideal temperature range for most seeds is between 65°F and 75°F, but some may need higher or lower temperatures. You can use a thermometer to monitor the temperature and adjust it as needed.
- Keep the potting mix moist but not wet, as too much or too little water can prevent germination or cause rotting. Water the seeds gently whenever the surface of the potting mix feels dry to the touch. You can also cover the containers with plastic wrap, a glass lid, or a plastic dome to create a mini greenhouse and retain moisture and heat. However, you need to remove the cover once the seeds sprout to prevent fungal diseases and allow air circulation.
- Provide adequate light for the seeds that need it to germinate, such as lettuce, petunias, and snapdragons. You can place the containers near a sunny window or under artificial lights, such as fluorescent tubes or LED bulbs. The ideal light duration for most seeds is 12 to 16 hours per day, but some may need more or less. You can use a timer to control the light cycle and ensure consistent exposure.
- Monitor the germination of the seeds and watch for signs of sprouting, such as a tiny root or a green shoot emerging from the soil. The germination time varies depending on the type of seed, the temperature, and the moisture level. Some seeds may sprout within a few days, while others may take weeks or even months. You can check the seed packet or online sources for an estimate of how long it will take for your seeds to germinate.
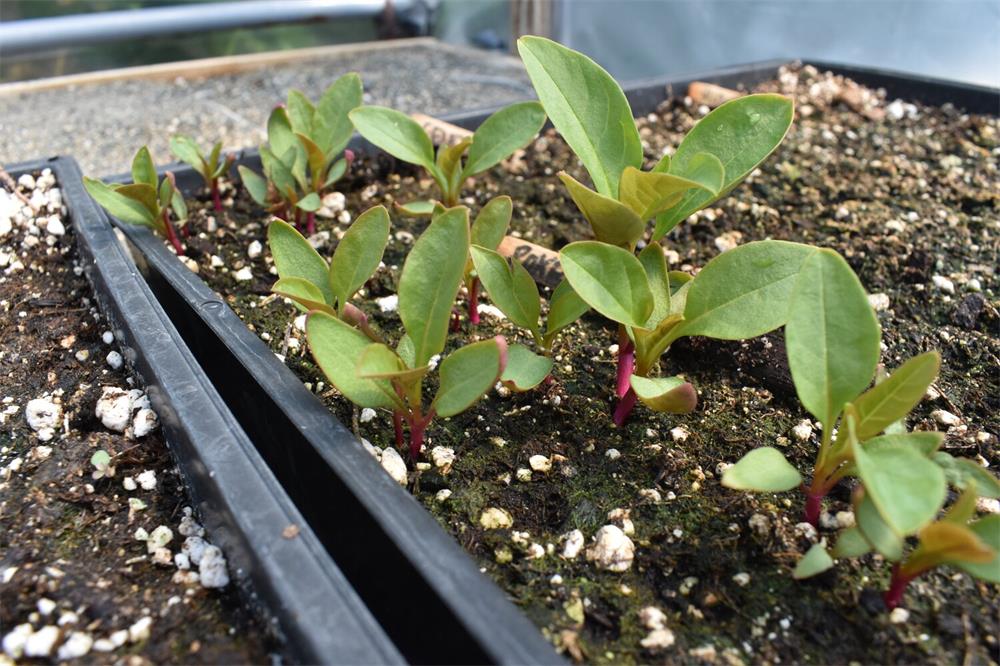
Care for the Seedlings
The fifth step is to care for the seedlings once they emerge from the soil. At this stage, they are very delicate and need special attention to grow healthy and strong. Here are some things you need to do to care for your seedlings:
- Thin out the seedlings if you planted more than one seed per container. Choose the strongest and healthiest seedling in each container and snip off or gently pull out the rest. This will prevent overcrowding and competition for nutrients, water, and space.
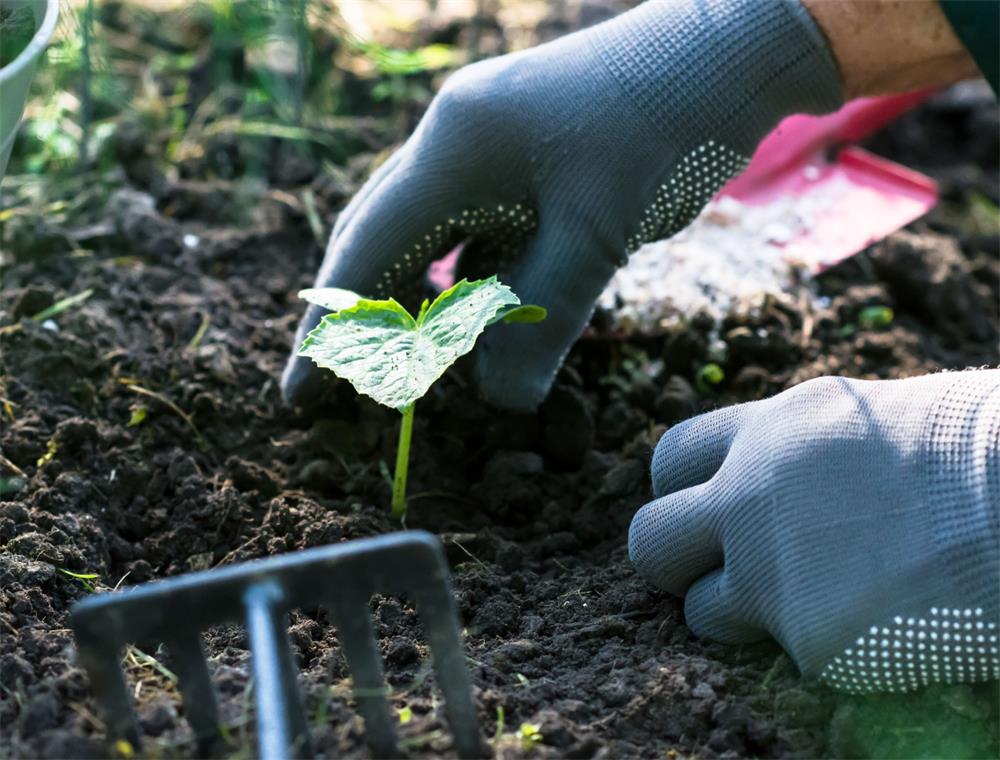
- Transplant the seedlings into larger containers when they have two sets of true leaves (the first set of leaves are called cotyledons and are not the true leaves of the plant). Use clean pots that are at least twice as big as the original containers and fill them with fresh potting mix. Make a hole in the center of each pot and carefully lift out each seedling with its root ball intact. Place it in the hole and gently press down the soil around it. Water well and label each pot with the name and date of transplanting of the plant.
- Fertilize the seedlings with a diluted liquid fertilizer every two weeks after transplanting. Use a balanced fertilizer that contains equal amounts of nitrogen, phosphorus, and potassium (such as 10-10-10) or one that is specially formulated for seedlings (such as 3-10-7). Follow the instructions on the label and apply half of the recommended dose to avoid burning the roots or foliage.
- Harden off the seedlings before moving them outdoors permanently. This is a process of gradually exposing them to outdoor conditions, such as sunlight, wind, temperature changes, and rain. This will help them adapt to their new environment and reduce transplant shock. Start by placing them in a sheltered location outside for a few hours per day, increasing the duration and intensity of exposure each day for a week or two. Avoid exposing them to harsh weather, such as frost, strong wind, or heavy rain. By the end of the hardening-off period, they should be able to stay outside all day and night.
Plant the Seedlings in the Garden
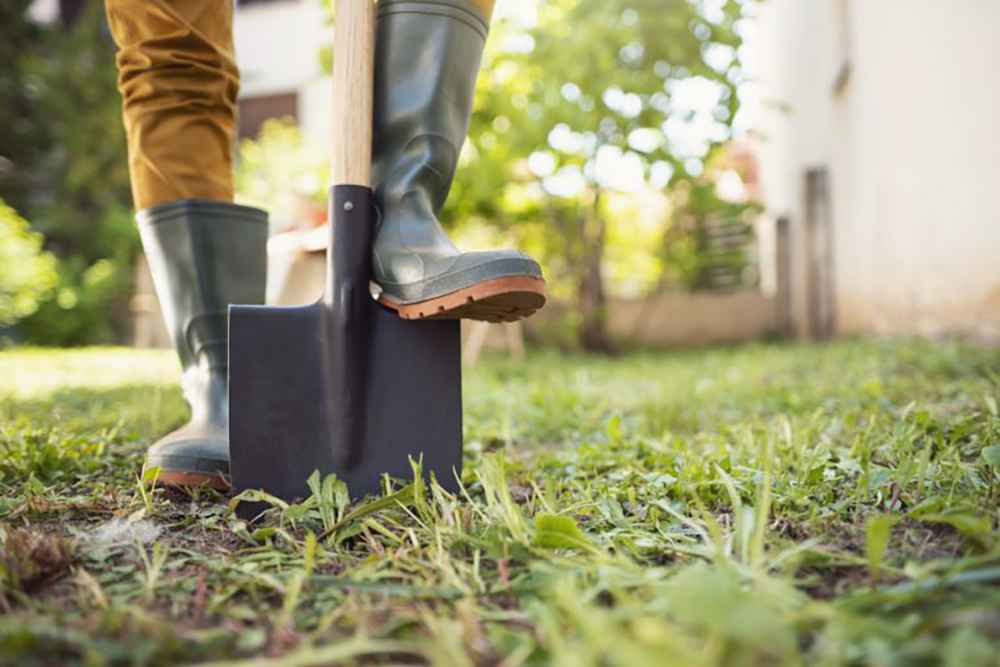
The final step is to plant the seedlings in the garden when they are ready and the weather is favorable. Choose a location that suits the needs of your plants, such as full sun, partial shade, or full shade, and that has well-drained and fertile soil. Prepare the planting site by removing weeds, rocks, and debris, and loosening the soil with a fork or a tiller. You can also add some organic matter, such as compost or manure, to improve the soil structure and fertility.
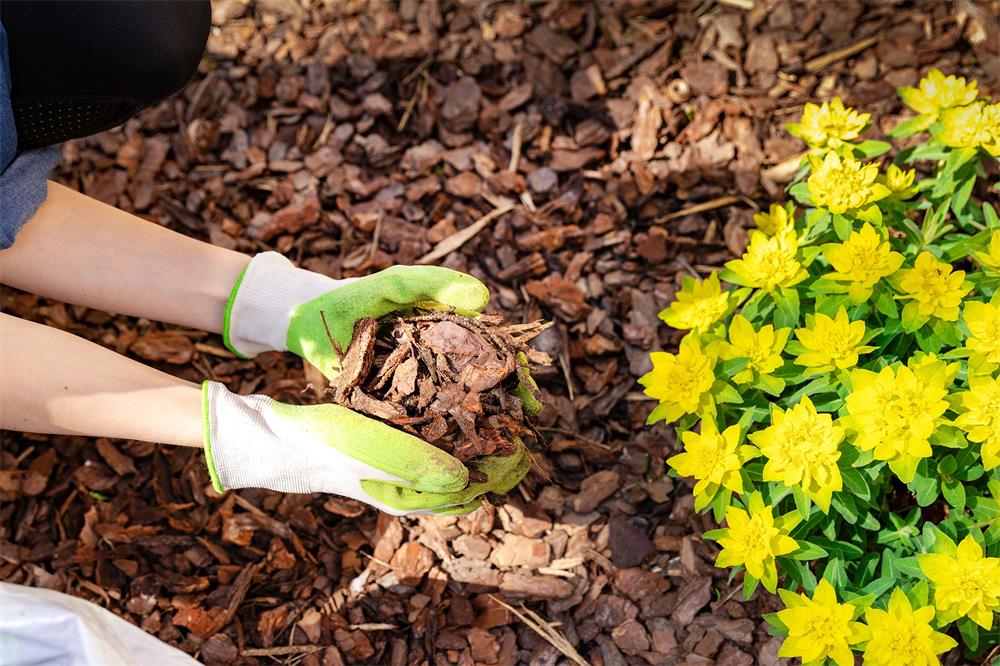
Dig holes in the soil that are slightly larger and deeper than the pots of your seedlings. Carefully remove each seedling from its pot and place it in a hole. Fill in the hole with soil and gently press it down around the plant. Water well and add some mulch, such as straw, wood chips, or leaves, to conserve moisture and prevent weeds. Space the plants according to their mature size and growth habit, as indicated on the seed packet or online sources.
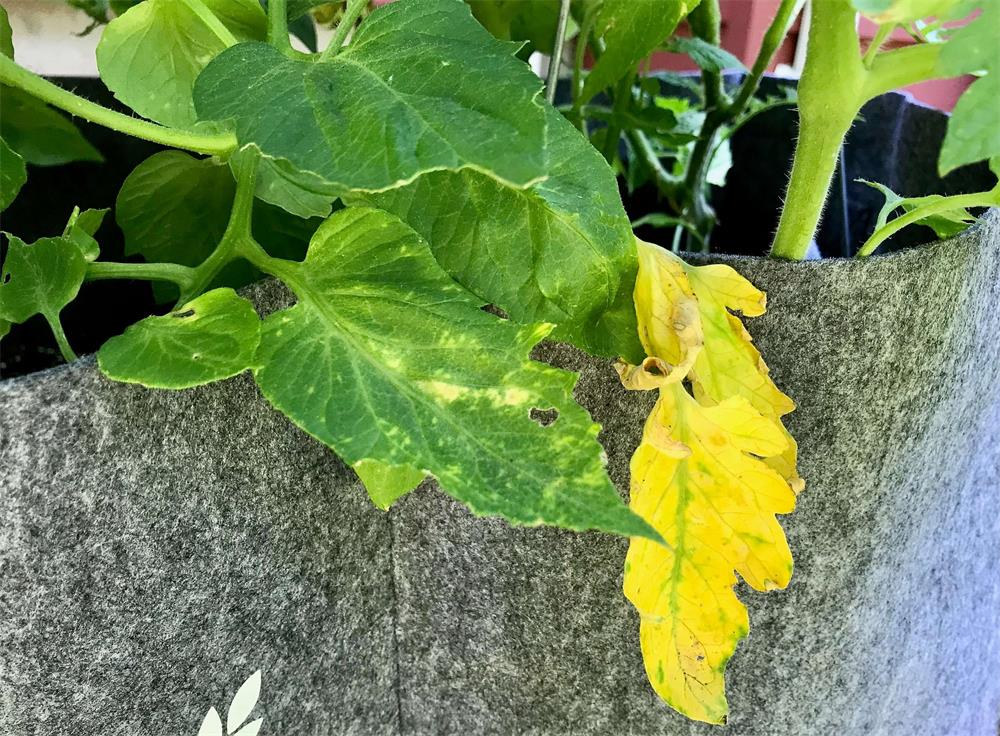
Continue to water, weed, fertilize, and protect your plants from pests and diseases throughout the growing season. Enjoy watching them grow and bloom, and harvest them when they are ready.